How To Make Apple Juice With A Juicer?
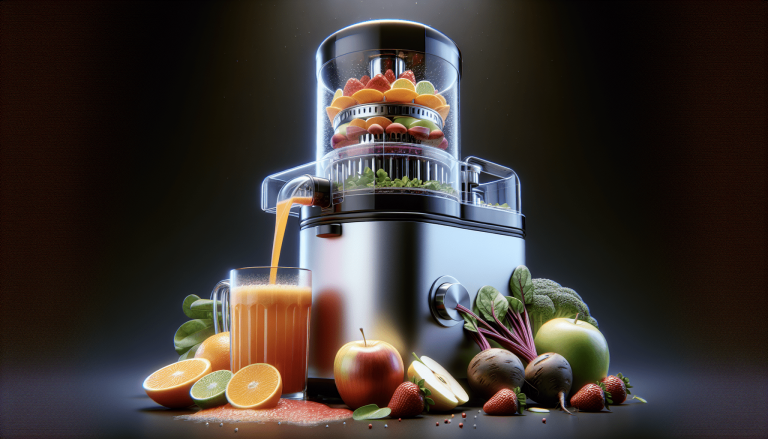
Welcome to the ultimate guide on how to make delicious apple juice with a juicer! Using your juicer, you can easily transform fresh apples into a refreshing and nutritious drink that your whole family will love. In this article, you’ll learn step-by-step instructions on how to prepare and juice the apples, as well as tips for enhancing the flavor of your homemade apple juice. Get ready to impress your friends and family with your newfound juicing skills! Did you know that making fresh apple juice at home using a juicer is a quick and easy process? If you’re a fan of fresh, natural apple juice and you’re looking to make your own at home, you’re in the right place! In this article, we’ll guide you through the step-by-step process of making apple juice with a juicer.
Choosing the Right Apples
When making apple juice, the type of apples you choose can greatly affect the flavor and sweetness of the juice. Different apple varieties have varying levels of sweetness and acidity, so it’s essential to choose the right apples for the taste you prefer. Some popular apple varieties for juicing include Gala, Fuji, Honeycrisp, and Granny Smith.
Why are the Right Apples Important?
Picking the right apples for juicing ensures that your apple juice will have the desired flavor profile. Sweeter apples like Gala and Fuji will result in a milder, sweeter juice, while tart apples like Granny Smith will produce a more tangy and acidic juice. Experiment with different apple varieties to find the perfect balance of sweetness and acidity for your taste preferences.
Washing and Preparing the Apples
Before juicing the apples, it’s crucial to wash them thoroughly to remove any dirt, pesticides, or wax that may be present on the skin. Even if you’re using organic apples, it’s still a good idea to wash them to ensure cleanliness. Once the apples are washed, you can then proceed to core and slice them into smaller pieces that will fit into the juicer feed chute.
Why Wash the Apples?
Washing the apples removes any impurities or residues that may be present on the skin, ensuring that your apple juice is clean and safe to consume. It’s essential to prioritize food safety when making juice at home, and washing the apples is a simple yet effective step in that direction. Plus, clean apples will result in a fresher, more flavorful juice.
Setting Up Your Juicer
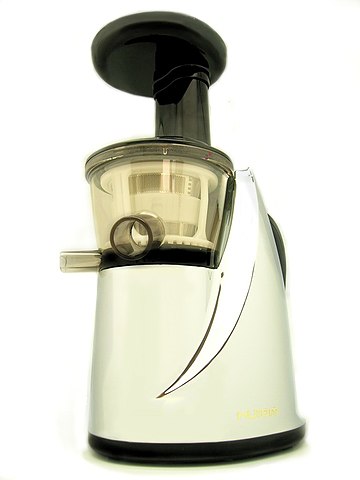
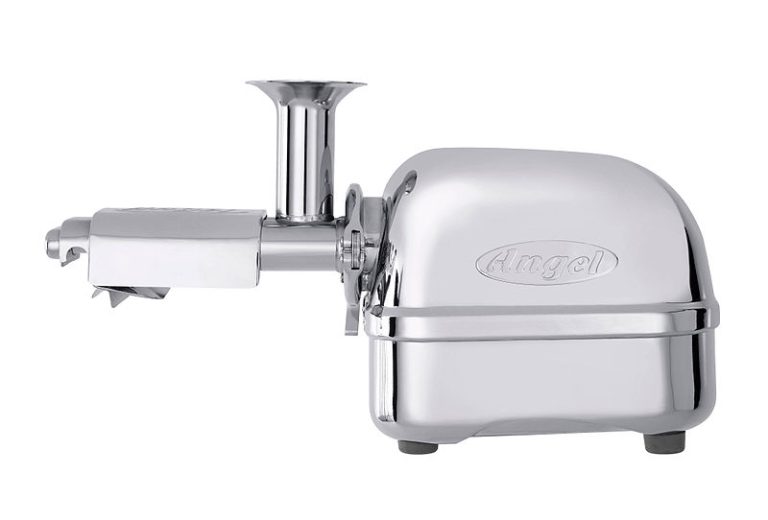
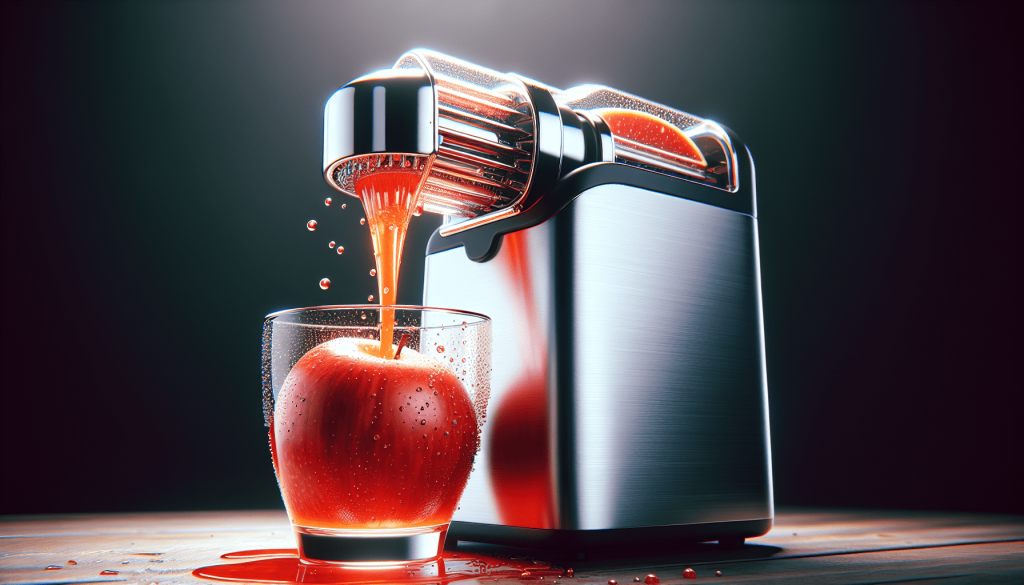
Before you start juicing the apples, it’s important to set up your juicer properly to ensure optimal performance and efficiency. Make sure to read the manufacturer’s instructions for your specific juicer model to understand how to assemble and operate it correctly. Additionally, ensure that the juicer is clean and free of any residue from previous use.
Why Proper Juicer Setup Matters
Setting up your juicer correctly is crucial for getting the best results when making apple juice. A properly assembled juicer will extract the maximum amount of juice from the apples, leaving behind minimal pulp and waste. Taking the time to set up your juicer correctly will make the juicing process smoother and more enjoyable.
Juicing the Apples
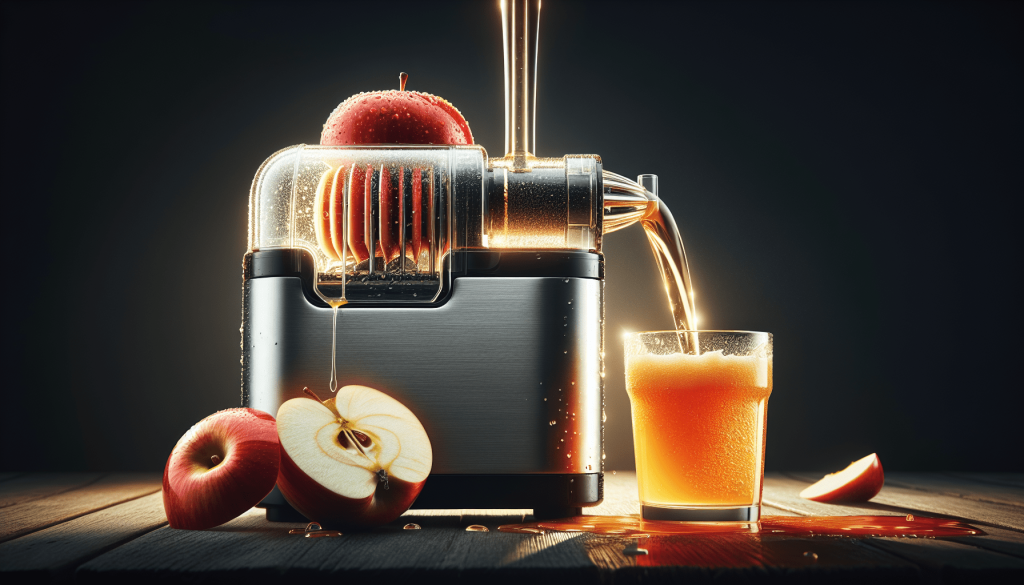
Now that you’ve chosen the right apples, washed and prepared them, and set up your juicer, it’s time to start juicing! Feed the apple slices through the juicer’s feed chute, making sure to push them down gently to extract the juice efficiently. Keep juicing the apples until you’ve processed all the slices and extracted as much juice as possible.
Tips for Juicing
- Rotate Apple Varieties: Mixing different apple varieties can create a complex flavor profile in your juice.
- Adjust Sweetness: If your juice is too sweet or tart, you can adjust the flavor by adding a squeeze of lemon or a touch of honey.
- Pulp Control: If you prefer a smoother juice, strain it through a fine-mesh sieve or cheesecloth to remove excess pulp.
Storing Apple Juice
Once you’ve finished juicing the apples, you’ll likely have a fresh batch of delicious apple juice ready to enjoy. If you’re not planning to drink the juice right away, it’s essential to store it properly to maintain its freshness and flavor. Store the apple juice in an airtight container in the refrigerator for up to 3-4 days.
Why Proper Storage is Important
Storing apple juice correctly helps preserve its flavor, sweetness, and nutritional content. Exposure to air, light, and heat can cause the juice to deteriorate quickly, leading to a loss of quality and taste. By storing the apple juice in the refrigerator in an airtight container, you can extend its shelf life and enjoy it for several days.
Optional Additions
While fresh apple juice is delicious on its own, you can also experiment with adding other ingredients to enhance the flavor and nutrition of the juice. Some popular additions include ginger, cinnamon, mint, or even a splash of sparkling water for a refreshing twist. Get creative and customize your apple juice to suit your taste preferences.
Creating Unique Flavors
Adding different ingredients to your apple juice can create unique and exciting flavor combinations. For example, adding ginger can add a spicy kick, while cinnamon can bring warmth and depth to the juice. Have fun experimenting with different additions to create your perfect apple juice recipe.
Benefits of Making Your Own Apple Juice
Making your own apple juice at home using a juicer offers several benefits beyond just the enjoyment of a fresh, natural beverage. Here are some reasons why making apple juice yourself is a great idea:
- Freshness: Homemade apple juice is fresh and free from preservatives, additives, and artificial flavors.
- Nutritional Value: Freshly made apple juice retains more nutrients and antioxidants compared to store-bought varieties.
- Customization: You can customize the sweetness, flavor, and texture of your apple juice to suit your preferences.
Why DIY Apple Juice is Superior
When you make apple juice at home, you have full control over the ingredients, process, and final product. This control allows you to create a healthier, tastier juice that aligns with your preferences and dietary needs. Additionally, the satisfaction of enjoying a beverage you made yourself adds to the overall experience.
Cleaning Your Juicer
After you’ve finished making apple juice, it’s important to clean your juicer thoroughly to maintain its performance and longevity. Disassemble the juicer according to the manufacturer’s instructions and wash each component with warm, soapy water. Pay attention to any areas that may have pulp or residue buildup and ensure that all parts are completely dry before reassembling the juicer.
Why Clean Your Juicer?
Cleaning your juicer after each use is essential to prevent the growth of bacteria, mold, or other contaminants that can affect the quality of your juice. A clean juicer also operates more efficiently and produces better results, reducing the risk of clogging or malfunction. Regular cleaning and maintenance will extend the lifespan of your juicer and keep it in top condition.

Conclusion
Congratulations! You’ve successfully learned how to make delicious apple juice at home using a juicer. By following the steps outlined in this guide, you can enjoy fresh, nutritious apple juice whenever you crave it. Experiment with different apple varieties, flavors, and additions to create your perfect homemade apple juice recipe. Cheers to your juicing adventures!

